
Tech Tip - Adding icons to your XPLAN client search

Icons, emoji and symbols have taken over the communications world, from our social media reactions, to text messages to websites! Their simple imagery is a great way to convey a whole concept or message in a single character. A picture speaks 100 words!
As applications and websites move to focus on the look and feel (UX or user experience as the propellor heads call it), here's a simple way to add icons to your XPLAN client search screen. Consider it a modern makeover!
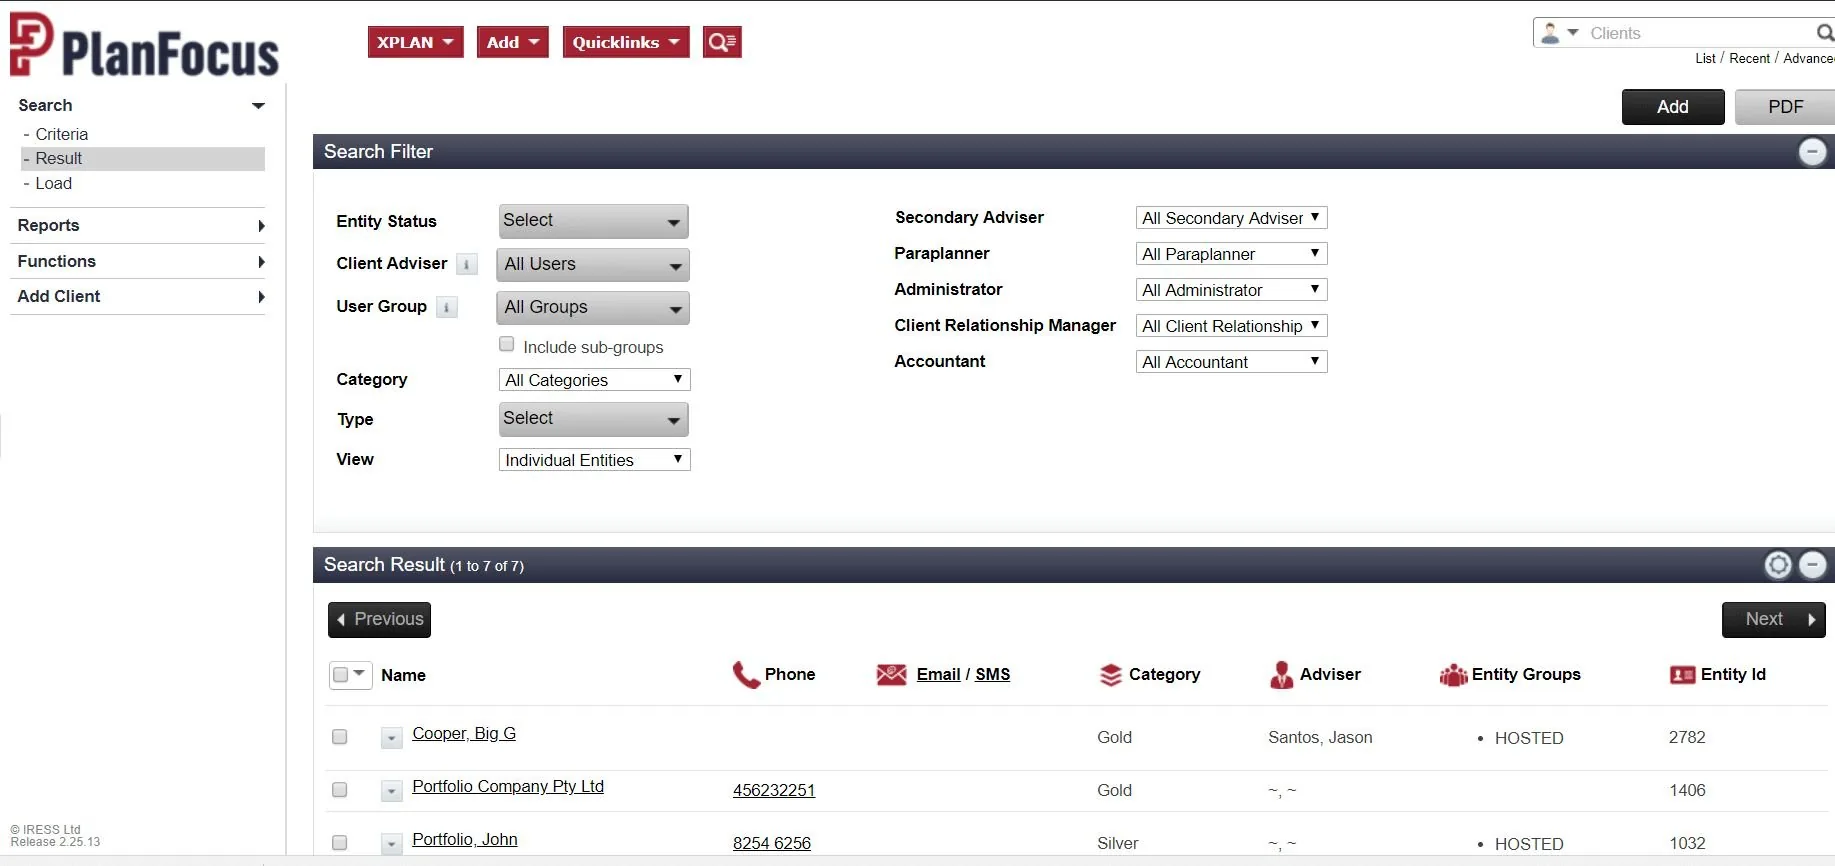
Step 1
Navigate to your system settings page XPLAN > Administration Functions > System Settings. NB: You must have the user capability System Setting assigned to your login profile to be able to access this page.
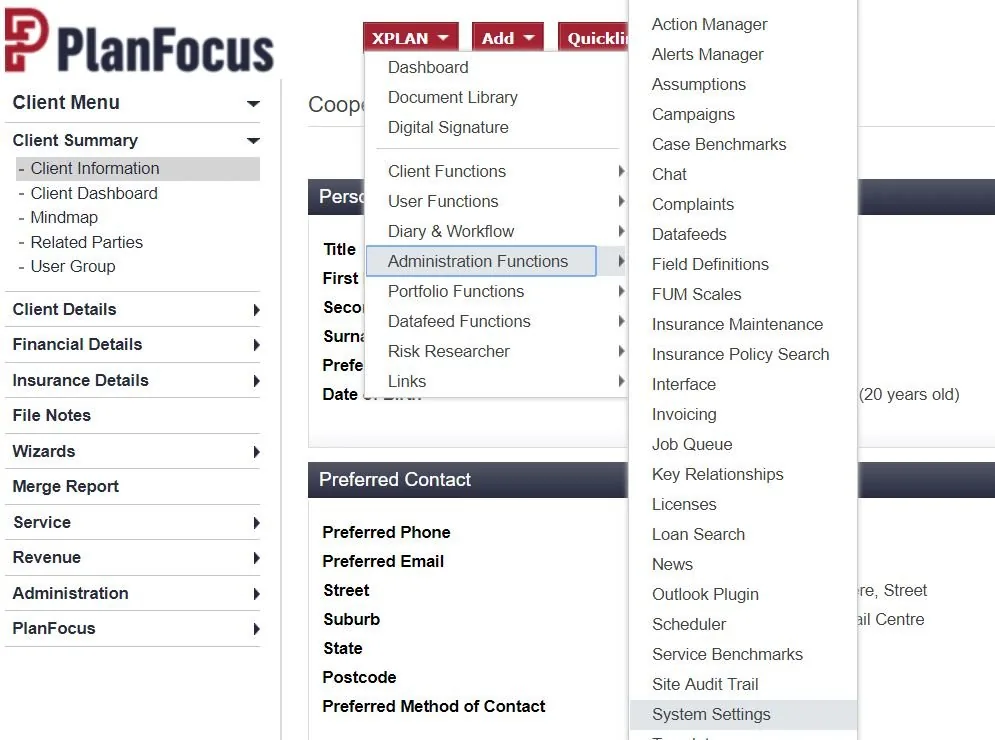
Step 2
Navigate to the left menu option Client Focus > Search Result.
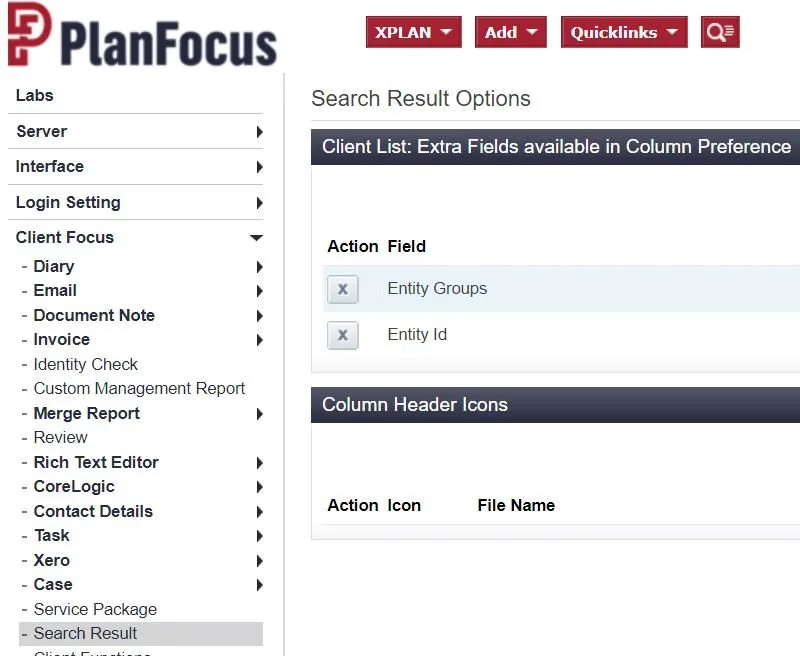
Step 3
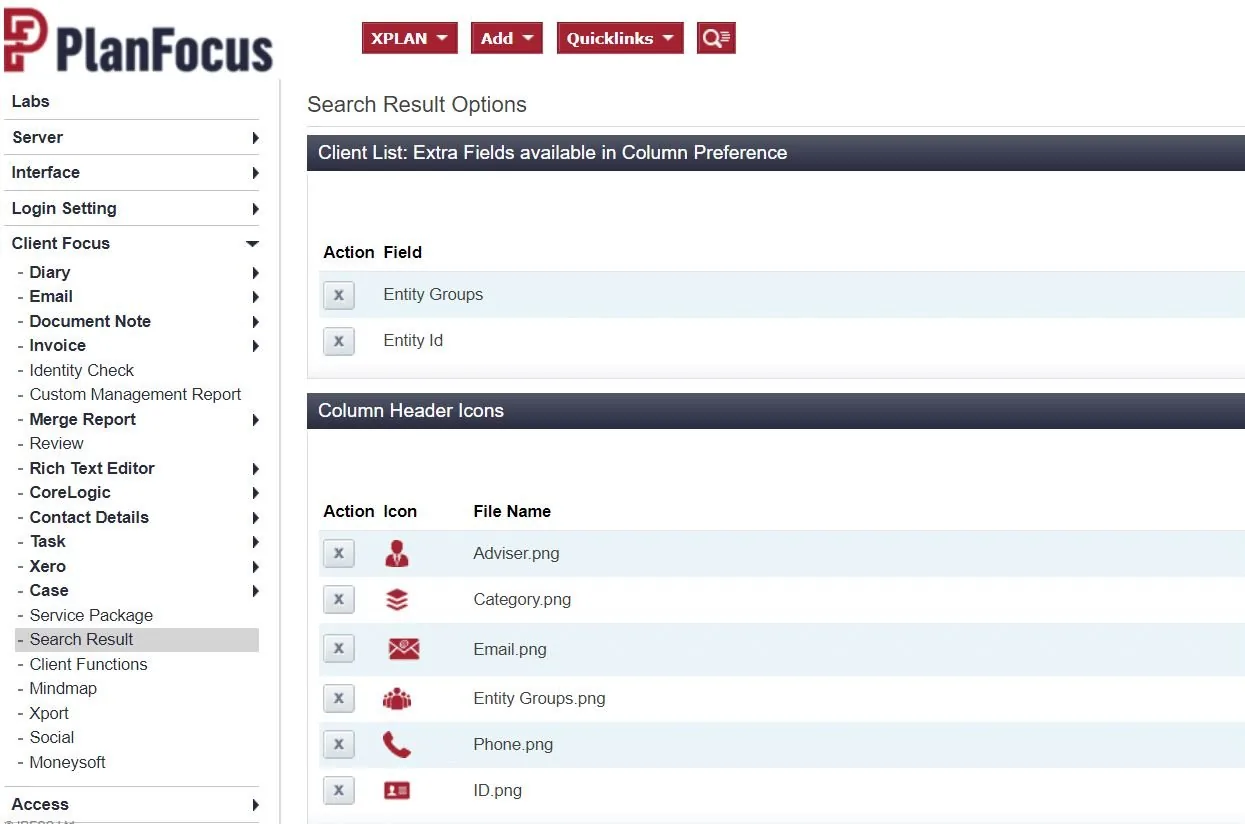
Upload the .PNG picture files you intend assign to the client search results columns. In this example we will be allocating icons for the following fields; phone, email, category, adviser, entity groups and entity ID.
When selecting your icons, keep in mind that they will need to be sized between 15 to 40 pixels in length and width, must be in .PNG format, and must be legible at that size. Simple is often better than a detailed icon. Try to provide the XPLAN user with an icon representation of the data displayed in the search result columns.
Once you have sourced your icon set, click on the highlighted [Upload File] button. The upload pop up will appear and allow you to select the icon that you have saved to your locally on your hard drive.
Upload each icon individually until you have a full set of the icons you require.
Step 4
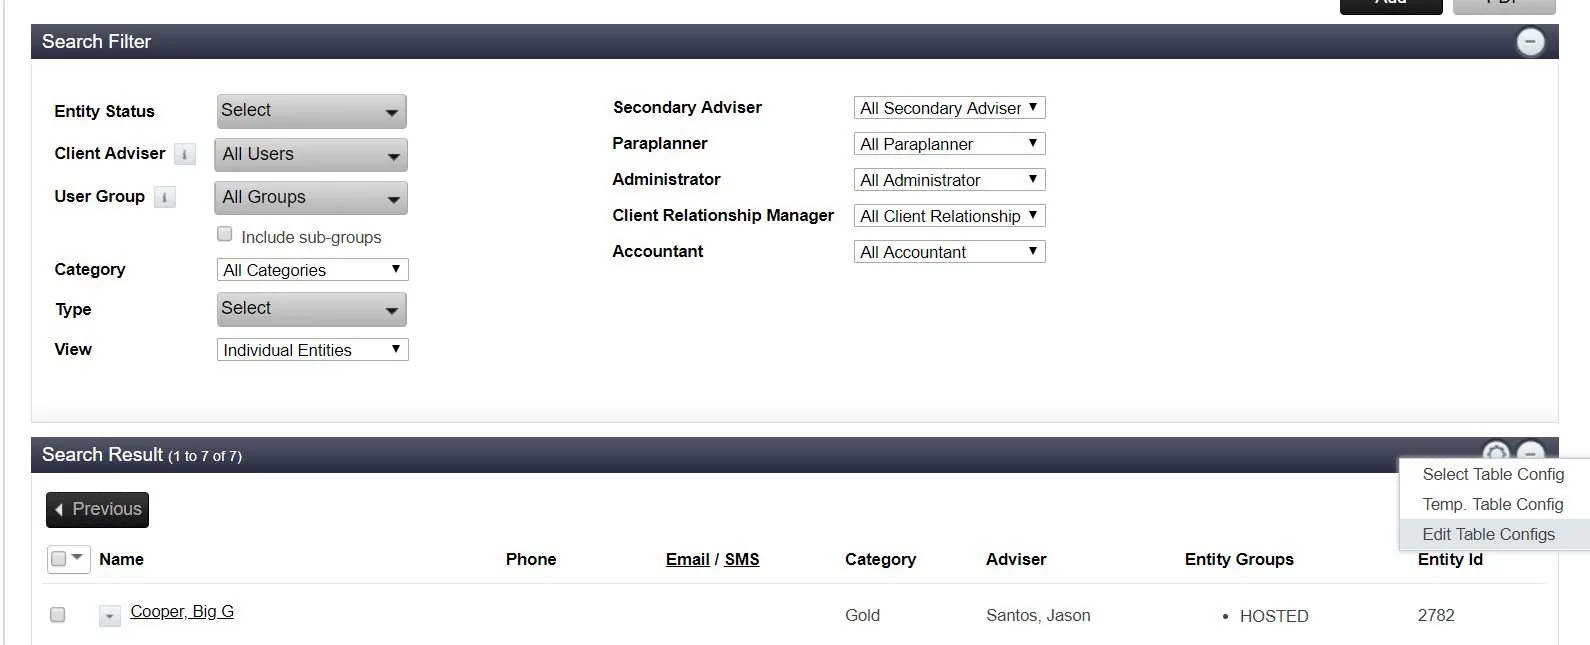
Navigate back to the client search result screen. Bonus tip - to quickly return to the client search results screen, enter a blank search in the search box in the top right hand corner of your screen. In the search result bar, click on the cog icon (Settings) and select [Edit Table Configs].
Step 5
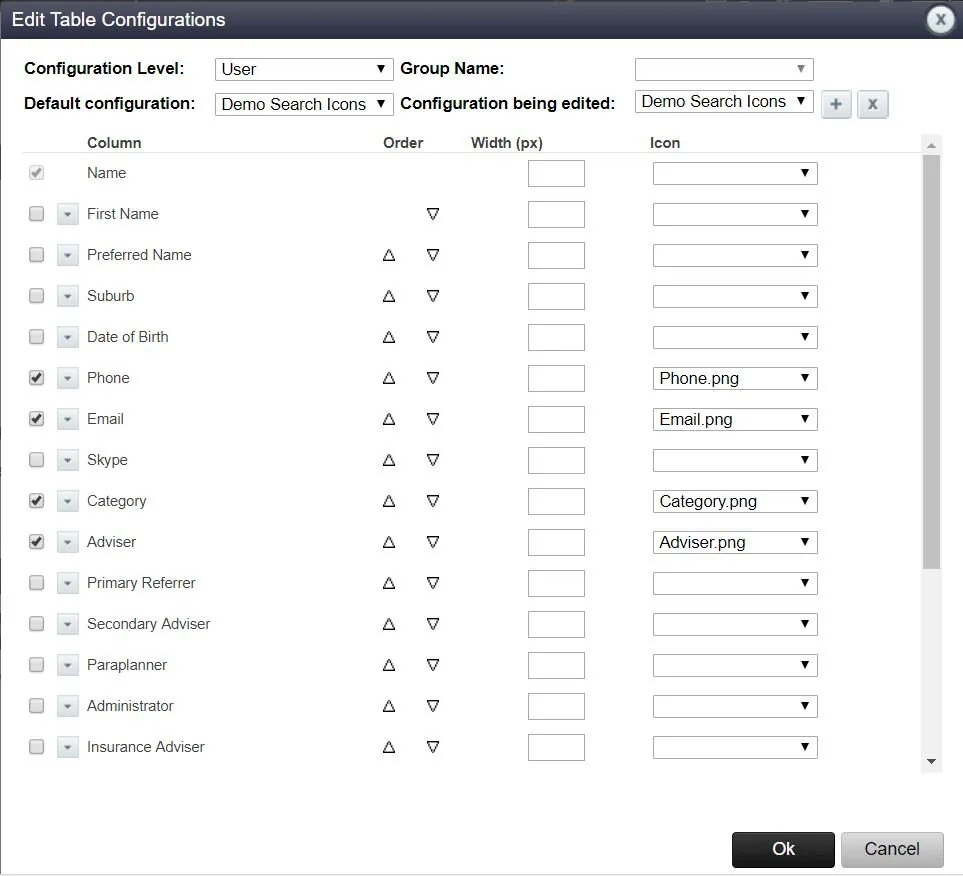
In the edit table config screen, the menu options you will display in the search results screen are ticked in the first column. You will be able to assign the icons you have uploaded previously in step 5 for each column in the search result screen.
This area also gives you the opportunity to re-order, configure width, and hide/show search result columns as desired.
Step 6
Click OK! Now simply enter a new blank search to view your client search icon masterpiece!
At PlanFocus, we create unique hand-crafted XPLAN sites that deliver your advice brand and use XPLAN to its full potential. If you would like help setting up Client Search Result Icons or want to learn more about our services, pleaseget in touch.