Email is a fundamental communication tool utilised everywhere with many client interactions performed this way. It is important, therefore, to keep a consistent and professional presence – starting with your email signature.
Your email signature provides your clients with clear and direct information on how to contact you, positions your brand in a consistent manner and delivers important disclaimer information with links to new and exciting content you may wish to present to your clients and the market at large.
By incorporating your email signature into XPLAN, you are able to maintain a professional presence when sending client email communications via XPLAN.
Below we take you through the steps to configuring your email signature within XPLAN.
Before you start, make sure you have saved on your PC.
- A scanned image of your signature
- A saved image of your logo
Step 1
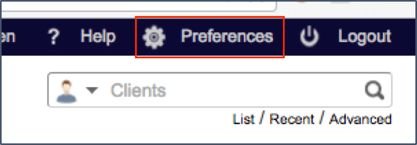
In the top right corner of XPLAN, click on the Preferences (cog) icon
Step 2
In the left menu, navigate to Email > Signature Options. Then click on the option ‘Use Personal Signature’

Step 3
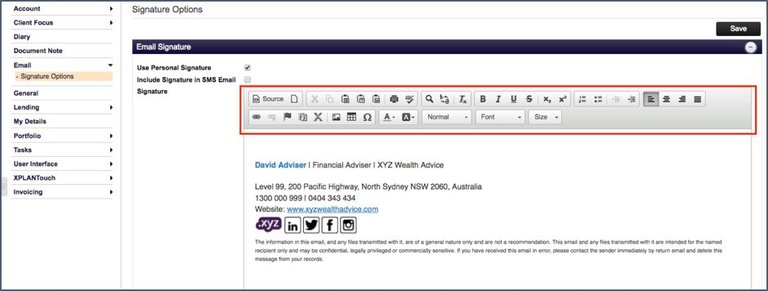
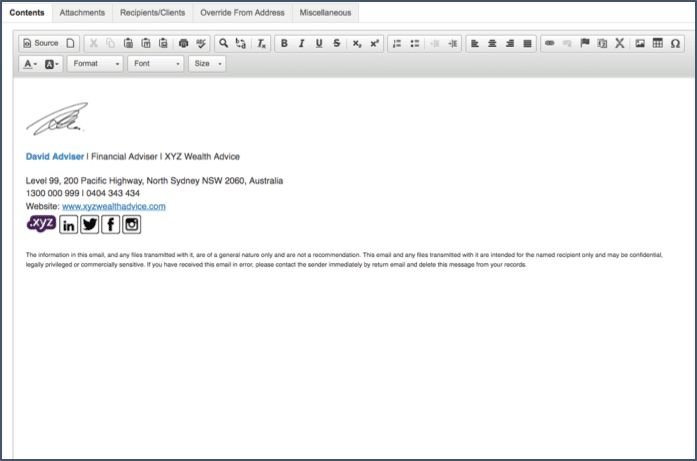
A text box will appear that allows you to enter in the email signature content. Text entered in this box can be formatted with colour, size, font type. These parameters should allow you to configure your email signature as you desire. If you are handy with HTML coding, you can click on the ‘source’ button in the menu bar and insert HTML tags to further enhance the look of your email signature.
Step 4
On top of formatting text, you can also insert pictures, icons and graphics. This allows you to include your business logo, a signature image, social media icons, a corporate banner or other suitable images.

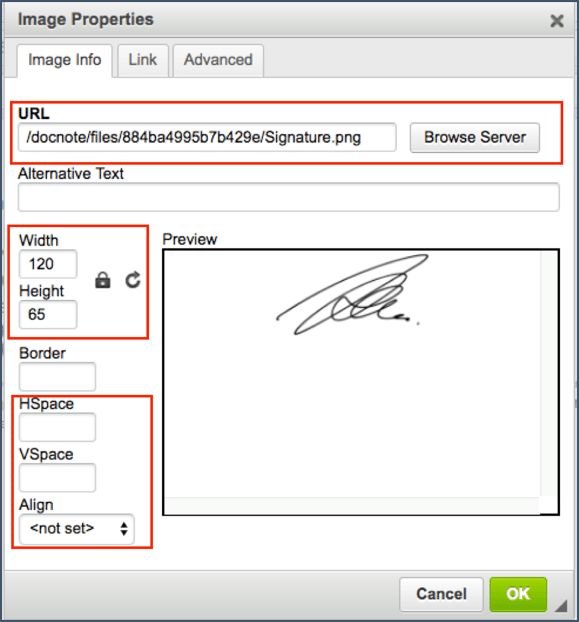
Click on the insert image icon in the toolbar, browse to the image you want to insert (the image must be stored in the XPLAN document library). You can then adjust elements such as image alignment and size.
Step 5
Additionally, you can also insert hyperlinks (to external sites such as your company website, articles, social media sites) into your email signature. This makes is easier for your clients to navigate to more digital content about you.
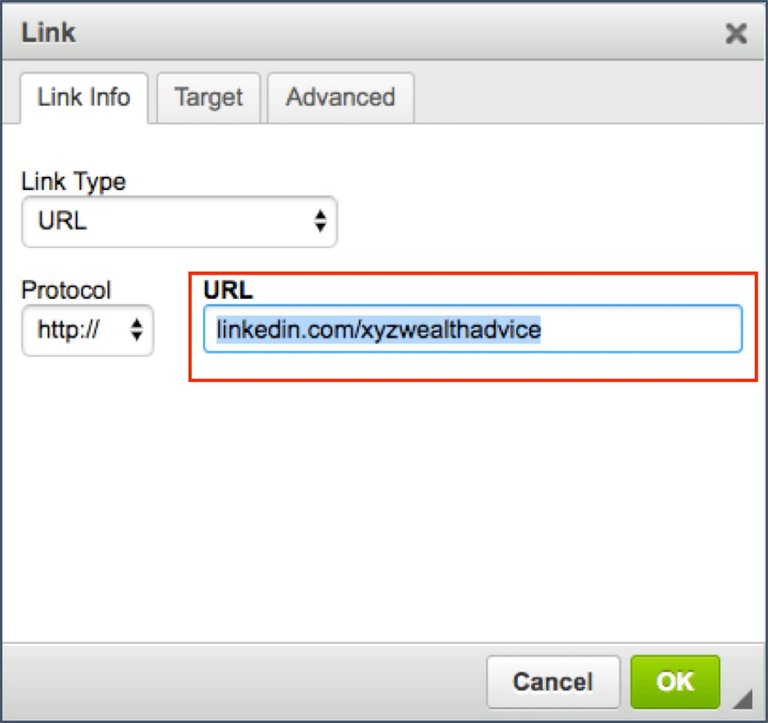
Highlight the text or image in your signature that you would like to create a hyperlink for, then click on the link icon in the toolbar.

Enter in the website details of the targeted link.
Step 6
Once you have formatted your email signature to your needs, click on save and you will receive a confirmation message to confirm it has been saved.

Step 7
Your email signature is now available to use. When creating any emails through XPLAN, your emails will now be addended with your newly configured XPLAN email signature.
Things to keep in mind:
– After you create your email signature, test the resulting output with a test email to yourself to check the resulting output.
– If you are on an XPLAN site that is not administered by you, there may already be a ‘default’ system email signature in place. Make sure that this does not conflict with your ‘personal’ email signature.
– If linking to external sites, make sure the web site addresses are live and current.
Planfocus have a range of letter and email templates ready made to use on your XPLAN site or can design one just for you.
If you need help to set up your email signature or want to learn more about our services, please get in touch.

